HarePoint Help Desk is provided with a Client Web-part that allows users to see and track their requests in the Help Desk service. This web-part can be placed on any web-page of your site.

Upon clicking Create request, a form to add a new request is displayed:
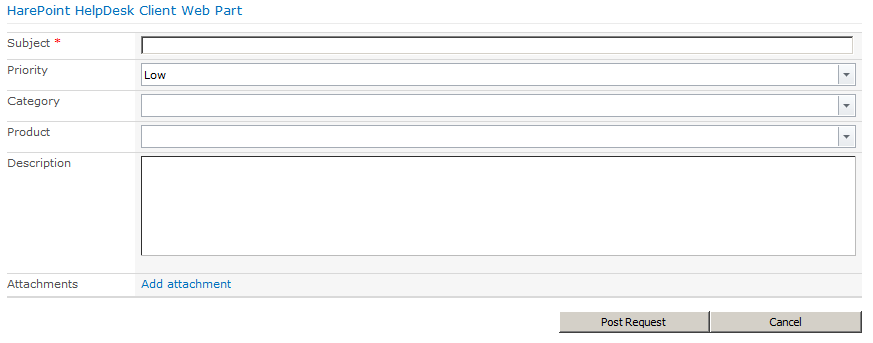
This form cannot be customized, it is possible to add or remove fields in this form and change the fields order. If you need to add graphics or verify user input in the form fields, it is necessary to create a new form for the SharePoint list named “Requests”. You can create a new form using Microsoft SharePoint Designer or Microsoft InfoPath Designer which is included in Microsoft Office Professional or higher.
Make sure your account has the required permissions to perform this operation.
This article explains how to create a new form using Microsoft InfoPath Designer.
Click ‘All site content’ and scroll to the ‘Requests’ list. As seen in the description on the screenshot, HarePoint HelpDesk stores requests from users in this list.

On the ribbon, click ‘List’ (in the ‘List tools’ group), then click on the icon ‘Customize form with InfoPath’:

InfoPath will start up and load the necessary information from the server, this may take some time. You will also be prompted for credentials at this stage.
After loading you will see the initial form, containing all available fields.
Fields that shouldn’t be present on the form can simply be deleted. They can be added back later by drag-and-dropping from the ‘Fields’ panel on the right.
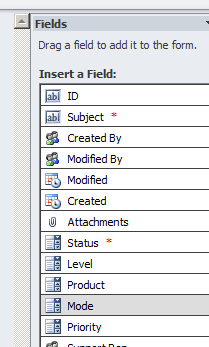
For any element, the style, font, and color can be edited in much the same way as in any other Microsoft Office application. Also, you can sort fields in any order, add controls (buttons, check boxes, etc.) and so on.
For example, it might be useful to have a ‘Submit’ button on the form.
Expand the ‘Controls’ section on the ribbon and click on ‘Button’ icon:
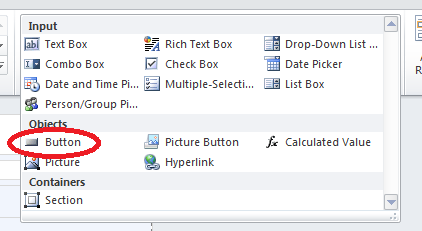
This will add a button to the form. Right-click this button and choose ‘Button properties’:
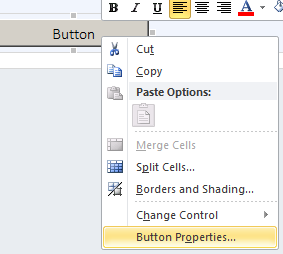
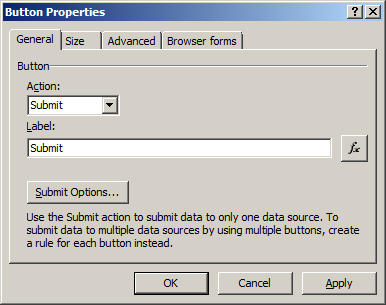
From the drop-down list ‘Action’ choose ‘Submit’ to make this button submit the form:

Note that button label will be automatically changed to ‘Submit’; however, it can be renamed:
On the Page design tab on the ribbon, you can choose from pre-defined layout templates and color themes:

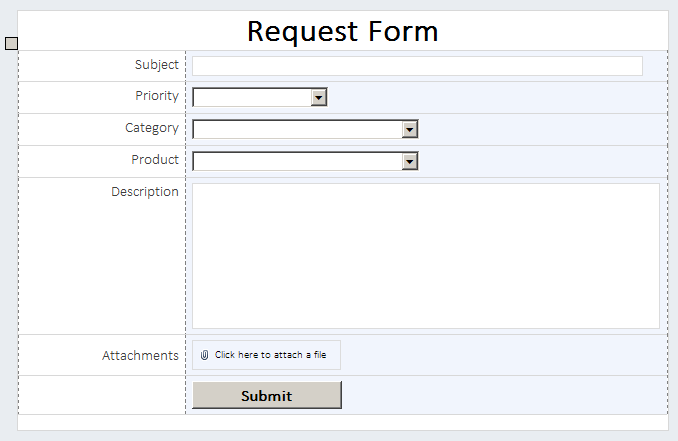
When you have your form designed according to your needs, it will look something like this:
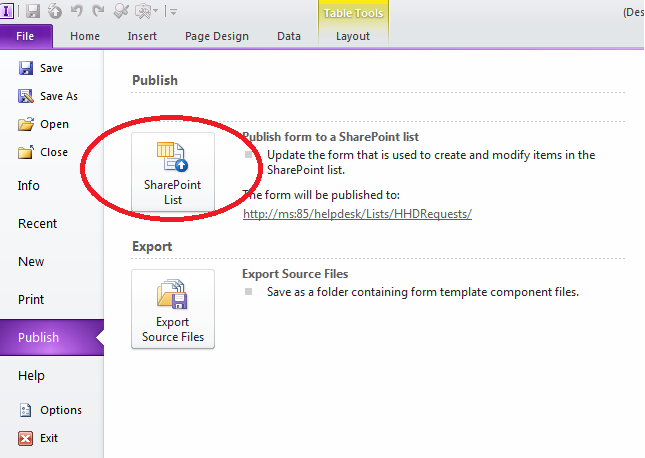
When you finish, the new InfoPath form has to be published on the SharePoint site. Click on the ‘File’ menu tab, and then on ‘Publish’ and choose ‘SharePoint List’:
Now you can add the customized form to the site page as an InfoPath web-part.
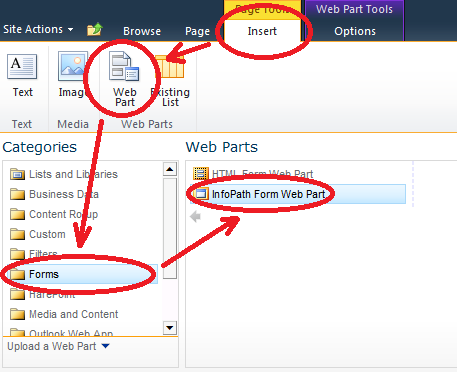
Open the page where you want this form to be inserted, and click ‘Edit page’, then on the ribbon tab: Insert and choose Web-part. Select Forms in the Categories, and then InfoPath form web-part and Add button:

Click as prompted to open the tool pane:
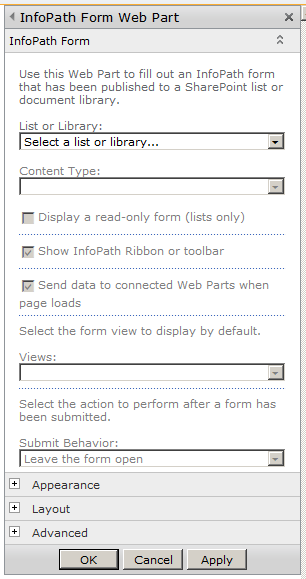
In the drop-down list select the Requests list, since we’ve been customizing the form for this list. Then click OK.
Now this form is available on the site page:
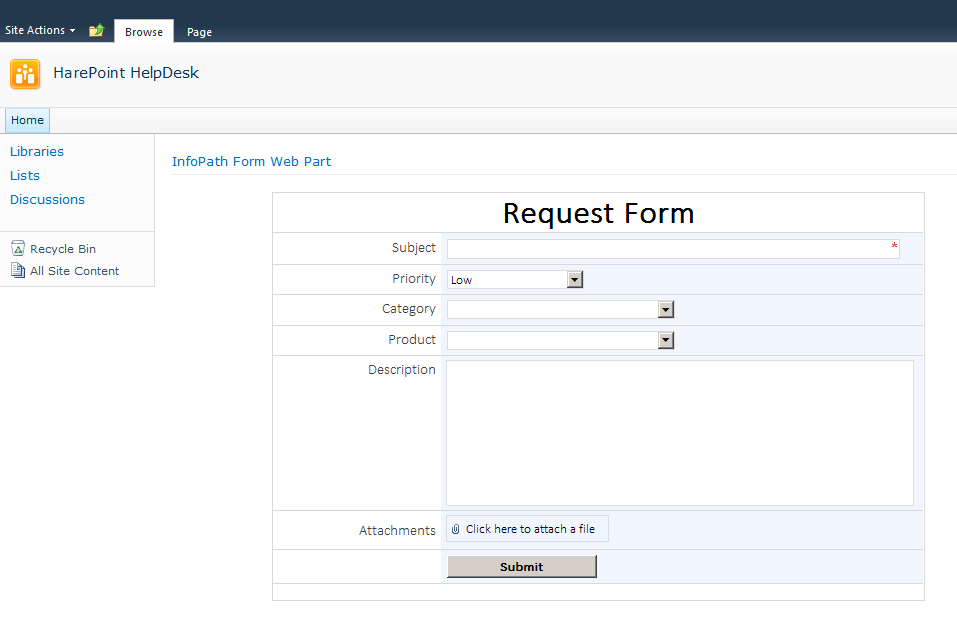
You can try filling the fields (note that only the Subject field is required in this example) for a new request and click the Submit button. A new item will be added to the Requests list.
How to place a customized InfoPath form on another site
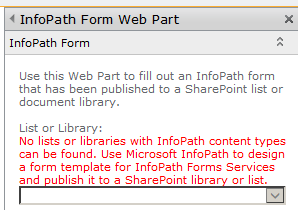
Using the method above, you can place the resulting InfoPath form only on the site where the list is located. Attempting to place this form on another site will fail since the drop-down list in the properties of the InfoPath form web-part does not contain the form you have customized (only forms for the current site are listed there):
There is, however, an indirect way to place the form on another site located on a higher level in hierarchy and within the same Site Collection. This is just what you need if you want to place a HarePoint HelpDesk form on your corporate site, since usually HelpDesk is created as a sub-site of the corporate site.
Note that this won’t work across either different Site Collections or different Web Applications.
Go to the target site (where you want to place the form). Create a new dummy list and create a customized form for it. Actually you don’t need to do any customization work for it in InfoPath Designer, so when it opens the default form you can publish it immediately without making any changes:

Then add a webpart with this InfoPath form to a site page — in the next steps we will replace it with the necessary form.
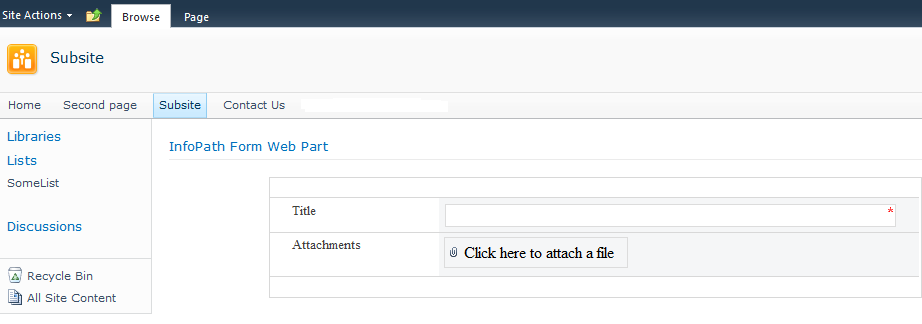
Click Site Actions – Edit in SharePoint Designer.

As the Designer starts, click Site Pages in the navigation pane on the left, then select the page where the form resides.

Click on InfoPath form Web Part to select it:
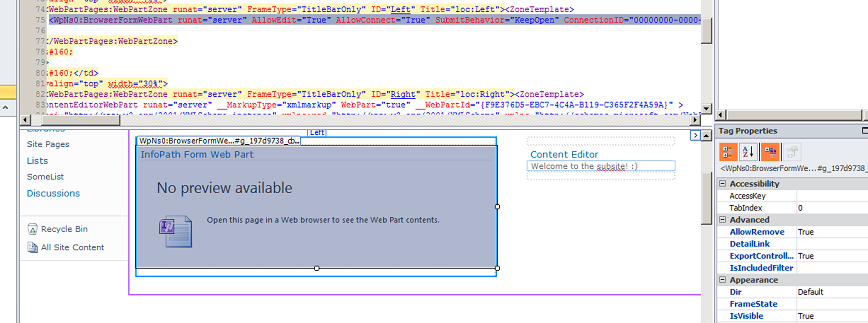
At the right in the Tag Properties pane, in the Misc section, find FormLocation:

Note that this field contains the relative URL of the dummy list.
Now go to the HelpDesk site and select the list whose form you are planning to place on the target site. In our case it is a list “Requests”. Copy its URL and paste it in the FormLocation property instead of the dummy list URL. You can copy the absolute URL, it will be cut to the relative URL automatically.

Save changes in SharePoint Designer, and then reload the target site page.
Now you’ll see the correct form instead of the dummy form.
Conclusion
In this article you have seen how you can easily customize HarePoint HelpDesk forms according to your needs using InfoPath Designer.
Using InfoPath customized forms across sites within the same Site Collection is also described.


