


Sometimes, it is necessary to invite several persons to a meeting. Sometimes, this requirement arises often, and sometimes, with quite a certain periodicity or under certain conditions. In that case, it is possible to automatically perform some workflows.
In the simplest case, automated mailing of invitations to a meeting represents a workflow where the Active Directory already contains the accounts of people to be invited to the meeting. In more complex instances, you can use the workflow to sort email and call meetings using keywords in the letters.
In this article, we consider the possibility of automatic mailing of invitations to the meeting by means of HarePoint Workflow Extensions. Let us take a simple case as an example. For more detail about the email analysis and work with lines please turn to Workflow approval by email and Working with the E-Mail.
If, for example, there is a department meeting every week, but the time and place of the meeting are not constant, it will be convenient to set up a workflow which at start will request only the time of the beginning and end of the meeting, and its venue.
Such workflow cannot be created using only the conditions and actions of SharePoint, therefore we use some components from HarePoint Workflow Extension. The list of the elements used is given below:
| Component name and type | Workflow components used | |
| SharePoint Workflow | HarePoint Workflow Extensions | |
| Set Exchange Web Service Options (action) |  |
|
| Send Meeting Request (action) |
|
|
The workflow will operate as follows:
- Receive at start the variable with the meeting date.
- Send a meeting request to each of the users indicated.
You can see whole process of creating such a workflow in this video:
Let’s start creating a workflow
1. Create a list of the “Site Workflow” type.
2. Add an operation “Set Exchange Web Service Options Properties”.
This operation is necessary to have the meeting request (sent in the form of a letter) dispatched via a specified server with the necessary settings even if the server where the workflow is started does not have the email parameters set.
Operation settings:
- “this url or e-mail address” – address of the Exchange server or email address. If an email address is indicated, HarePoint Workflow Extensions will identify the address of the Exchange server responsible for the work of the indicated email.
- “this user” – the name of the user on behalf of which the meeting request is sent. This is not a mandatory parameter, and if omitted, the meeting request will be sent in the name of the user has started the workflow.
- “this password” – password corresponding to the account of the user indicated in the previous setting. The parameter is mandatory if the user name is indicated.
- “Convert/Do not convert message body to plain text” – send the meeting request as an HTML message or convert to simple text before dispatch.
3. Add the “Send meeting request” operation. A separate “Send meeting request” operation is to be added for each of the persons participating in the meeting.
Operation settings:
- “this address” – email address to which the meeting request is to be sent;
- “starts at this time” – starting time of the meeting;
- “ends at this time” – ending time of the meeting;
- “at this location” – venue of the meeting.
As in the given situation we know the meeting participants in advance, enter the emails of the persons you need in each of the operation settings:

As in the given situation we do not know the meeting venue and time in advance, it would be expedient to enter several “Initiation Form Parameters”:

Accordingly, on starting a workflow, you will see a data entry form (default data can be indicated):
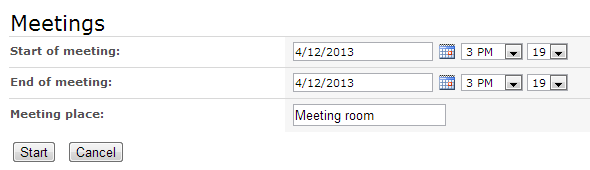
And inside the workflow these parameters are available for use. That is why in all “Send meeting request” operations these parameters can be used as the time and venue settings:

General view of the workflow:

Workflow Startup
After the workflow is published, it will become available for startup:
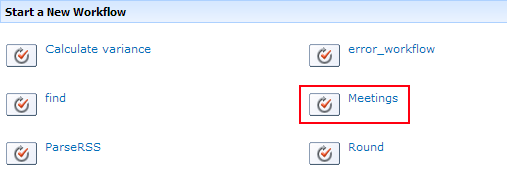
When starting a workflow, the form with the startup parameters will be displayed:
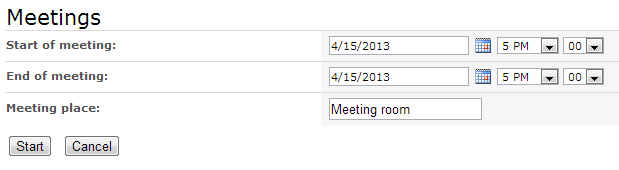
After the workflow is started, letters will be sent to all meeting participants informing of the place and venue of the meeting.
Conclusion
Automation of repeated activities saves your time. There are many operations that can be automated. The above workflow example is clear evidence that the use of HarePoint Workflow Extensions will make it possible for you to independently create workflows doing your work for you.