


This example will show you how to get news from RSS feeds, publish them on a SharePoint website and how to run workflows automatically according to a schedule.
We will create a workflow that retrieves news from RSS feeds and publishes them in one of the lists on the website. This type of workflow cannot be created using only SharePoint own conditions and actions; therefore we will use several components from HarePoint Workflow Extension. Here is the list of components used:
| Component name and type | Set of Workflow components | |
| SharePoint Workflow | HarePoint Workflow Extensions | |
| Fetch RSS Item (Action) |  |
|
| Create List Item (Action) |
|
|
| If any value equals value (Condition) | |
|
First, we will create a list of “Announcements” type (hereinafter referred to as the “List”), which our workflow works with, and we will put it on one of the site’s web pages. Then we will create a workflow acting in the following manner:
- Retrieve the URL of an RSS feed out of the workflow parameters.
- Retrieve the first item with the title and the text of the news from the feed.
- Check whether the list contains such an item. This step is needed to avoid duplicates.
- If there is no item with such a title, then a new item is added.
- Repeat actions 2 to 4 for the second and third items of the feed.
Before Starting to Create a Workflow
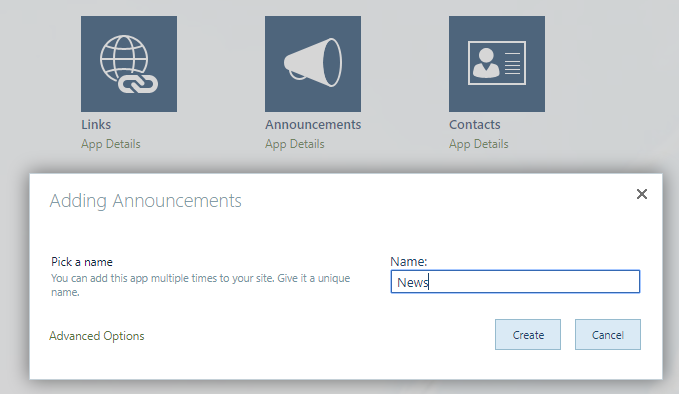
1. Create a list and put it on one of the pages of the website.Enter the name of the new list (for example, “News”), select “Announcements” type. Save the new list, and save the webpage.
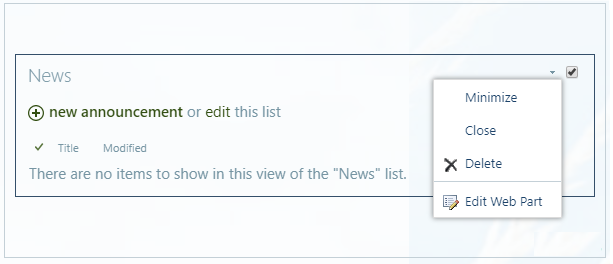
2. Edit the list view.
To edit the list view, open the web part editor (“Edit Web Part”).
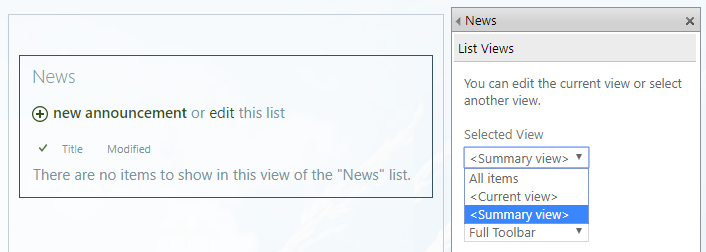
In the expanded options window, you can select and set up the list view. Select “Summary view”.
Starting to Create a Workflow
1. Create a new workflow of “Site Workflow” type in SharePoint Designer.
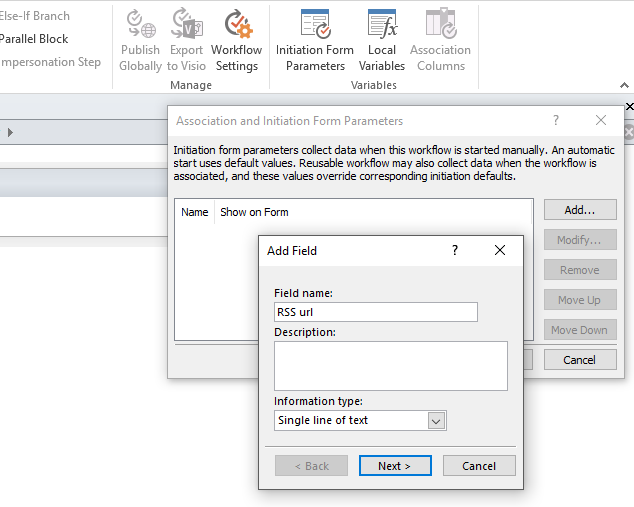
2. Create an initiation form parameter.
To do that, click “Initiation Form Parameters”, “Add”. Name the variable. As the RSS URL is a string, select this data type for the variable (“Single line of text”). Click “Next”, enter the default URL of the RSS feed (for example, https://www.harepoint.com/bitrix/rss.php), click “Finish”.
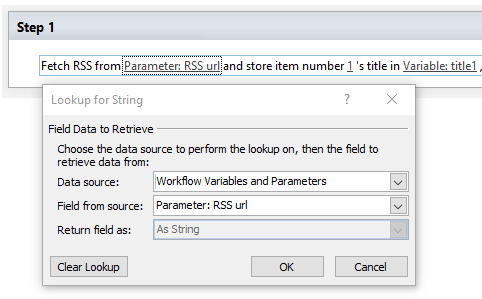
3. Retrieve items of the RSS feed. Add the “Fetch RSS Item” action in the workflow. Specify the parameter created in the first step as “this url” parameter. Specify item number “1” in the action’s options.
4. Check if there is an item with an identical title.
Add the “If any value equals value” condition. Edit the first value. In the “Field Data to Retrieve” block select the list and the “Title” field. In the “Find the List Item” block select the “Title” field and the variable in which the “Fetch RSS Item” action saved the title in the first step.
Change “equals” condition to “is empty” condition. This condition will work if the list does not contain any item with a title identical to the title of the retrieved RSS feed item.

5. Create an item.
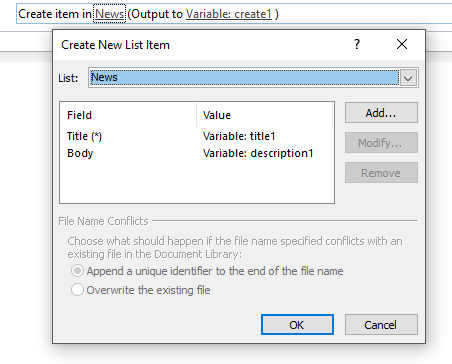
If there is no item with a similar title, create such the item. To do that, add the “Create List Item” action within the condition. Open editing of “this list” parameter.
Select the list you are working with. Select the variable which was used by the “Fetch RSS Item” action to save the title in the first step, for the “Title” field. Add a “Body” field. You can use the value of the variable with this description in the feed item as the value of this field. You can also use formatted text and several variables as the value. To do that, open the “String Builder”. The “Add or Change Lookup” button adds variables to the text. Save all the parameters (“OK” buttons).
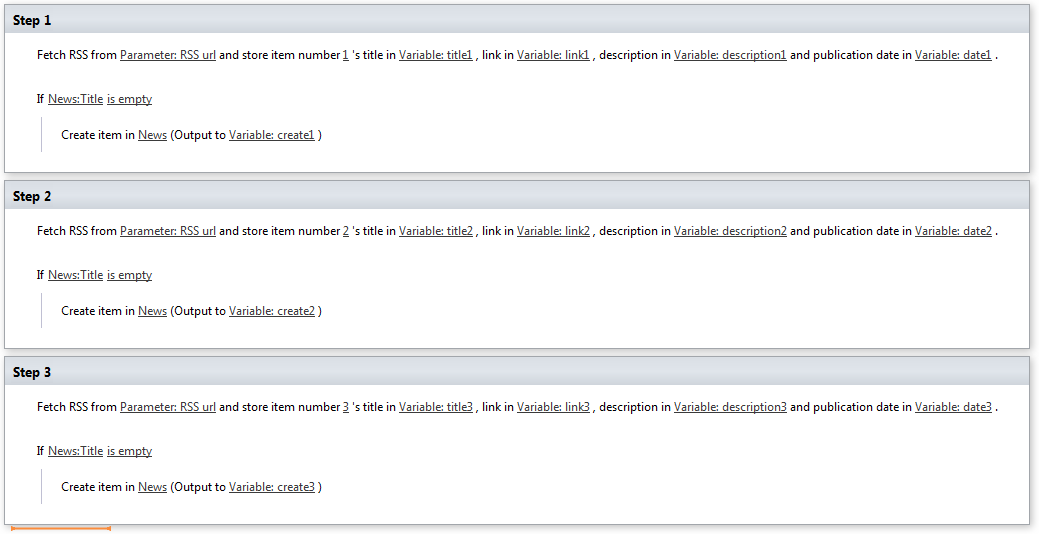
In order to retrieve the second and third feed items (or more items if needed) add the next workflow step, in which you need to repeat actions one to four. Do not forget to change the number of the received RSS feed item.
The ready workflow looks as follows:
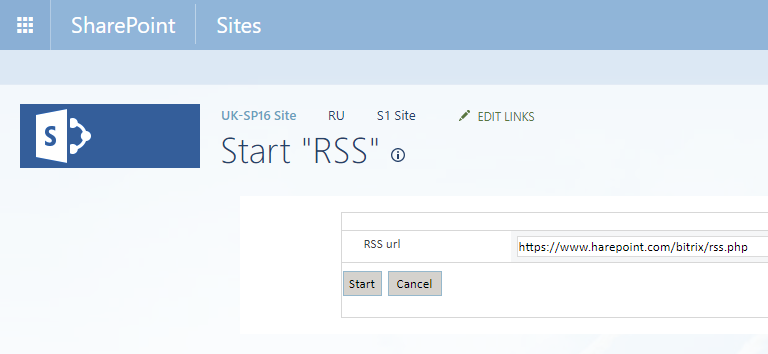
Save and publish the workflow. After that, it will become available on the website on the “Site Workflows” page. You can jump to this page by clicking a link in the “All Site Content” section.
When starting a workflow you can specify an RSS feed’s URL which differs from the default one. To do that, just change the text in the parameter field to the needed URL.
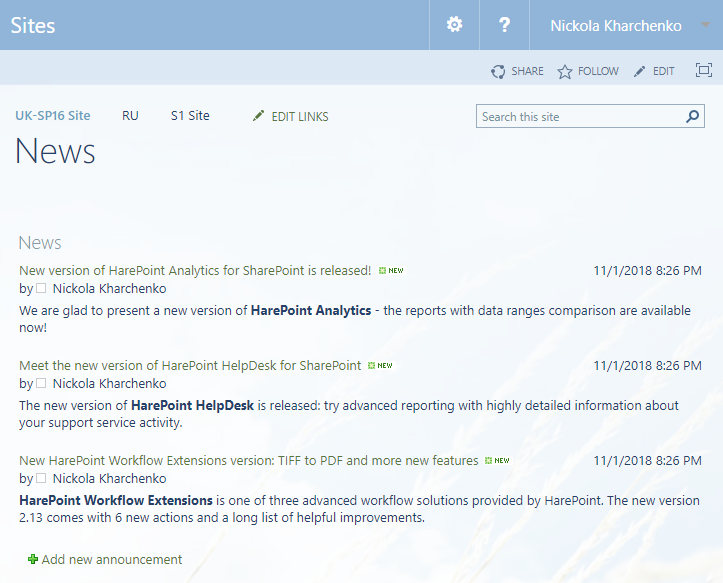
After completing the workflow, the three latest news items from the RSS feed will emerge in the list:
Automated Scheduled Workflow Start
If you want the workflow to add the latest news to the list regularly, you may use the free HarePoint Workflow Scheduler which allows scheduling of SharePoint workflows.
Create a new task for HarePoint Workflow Scheduler.
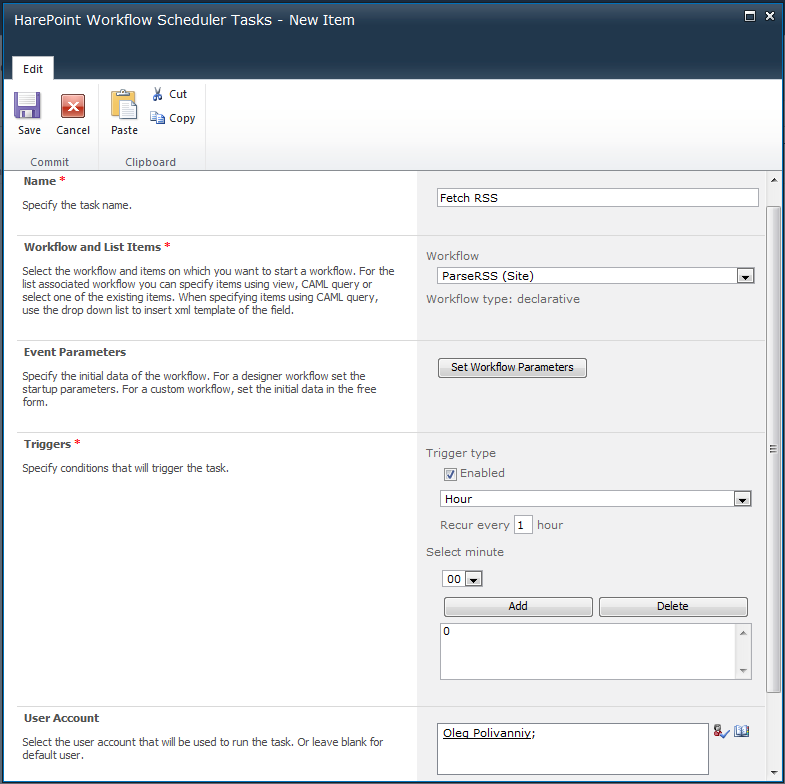
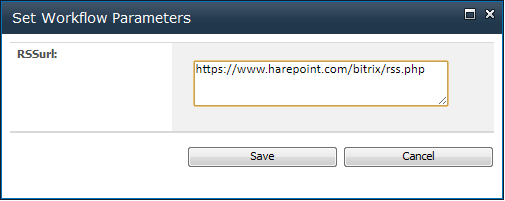
Specify the task name, workflow, autorun schedule and workflow parameters (in our case it will be the URL of the RSS feed):
You will also need to select the account under which the workflow will start. Save the task.
Conclusion
Using HarePoint Workflow Extensions, we could arrange news import within a few minutes without programming. By using conditions and actions of HarePoint Workflow Extensions you can create simple but effective workflows which would otherwise be impossible when using standard SharePoint components; and HarePoint Workflow Scheduler allows automated workflow start.
You can also watch the whole process of creating such a workflow in this video: