


Introduction
 This article is available in German: Ticket System mit HarePoint HelpDesk.
Please note that you must have pre-installed and configured SharePoint: Microsoft Office SharePoint Server 2010 or SharePoint Foundation 2010.
In fact, the installation and configuration of HelpDesk includes 4 simple steps:
- Installation of the HarePoint HelpDesk solution;
- Creation of a SharePoint site based on the added template;
- Setting up user accounts and system access rights;
- Adding a HarePoint HelpDesk web part to the desired page of the site.
Installation and configuration
Installation of the HarePoint HelpDesk solution
- Download HarePoint setup file from the site.
- Launch the installation process (Setup.exe) on the WFE or APP server.
Here you need to agree with the license conditions, look at the system requirements for the installation, choose a site (or several sites) for which you would like to create a sub-site with the system.
Creation of a SharePoint site
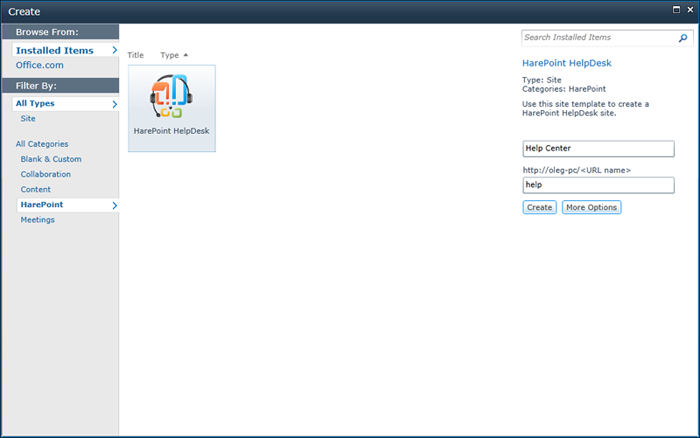
After the HarePoint HelpDesk solution is installed, “HarePoint HelpDesk” template will be available among the templates for the creation of a new site. Therefore site creation comes down to choosing a site name and parent site directory where a new site will be placed.
For example, you can call the site as “Help Center” and place it in the “site name/help” directory.
Setting access permissions
To work with HarePoint HelpDesk requests, a user must have the following permissions:
List Permissions
- Add Items – Add items to lists and add documents to document libraries.
- Edit Items – Edit items in lists, edit documents in document libraries, and customize Web Part Pages in document libraries.
- Delete Items – Delete items from a list and documents from a document library.
- View Items – View items in lists and documents in document libraries.
Site Permissions
- View Pages – View pages in a Web site.
- Open – Allows users to open a Web site, list, or folder in order to access items inside that container.
In order to form the specified set of permissions, perform the following steps.
- Go to the page of configurations of the current collection root site.
- In section Uses and Permissions click link Site permissions.
- On page Permissions click Permission Levels.
- Create a new Permission Level and mark the check boxes of permissions enumerated above.
- Use the created Permission Level when creating access permissions for target groups of users.
Adding a HarePoint HelpDesk web part to the desired page
After the HarePoint HelpDesk solution is installed, “HarePoint HelpDesk Web Part” will appear among the web parts available for the installation. Simply choose a location to host it and add to the page.
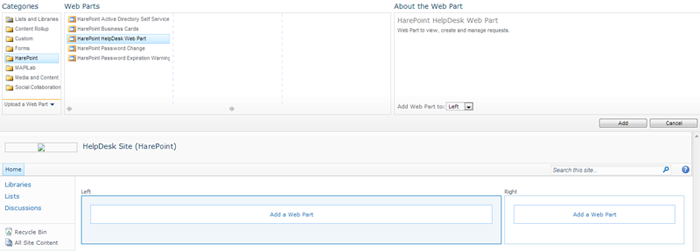
After adding the web part, you can configure it.
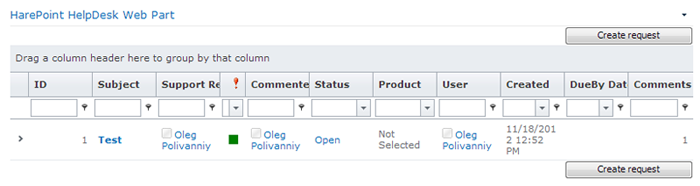

Please note that you can set up a web part on one of the collection sites, such as a root site, but specify another site as the installation one. Thus, you can display the HarePoint HelpDesk dashboard on any page of any collection site for which the HarePoint HelpDesk solution is activated.
Conclusion
With time many organizations face the necessity of recording arising questions. Whether these are customer questions addressed to tech support, or employees’ addresses describing any problems or suggestions.
In any case, having added the HarePoint HelpDesk solution for SharePoint to your armory, you have the opportunity to quickly organize a ticket system to resolve most issues. This system is flexibly configurable, so you can easily bring the system exactly up to your needs.