


Create and login to the Demo Site
- Enter the Demo Site using a URL: http://helpdeskdemo.harepoint.com/default.aspx
- Log in using your account which you created to create tickets in the Support module. If you haven`t created an account yet, you can create it here.
- Click Create HarePoint HelpDesk site button to create your personal site collection where HelpDesk is deployed. The web-site will be active for 30 days. After this period of time it will be deleted. If you need to continue testing, create the site collection again following the steps specified in point 2.
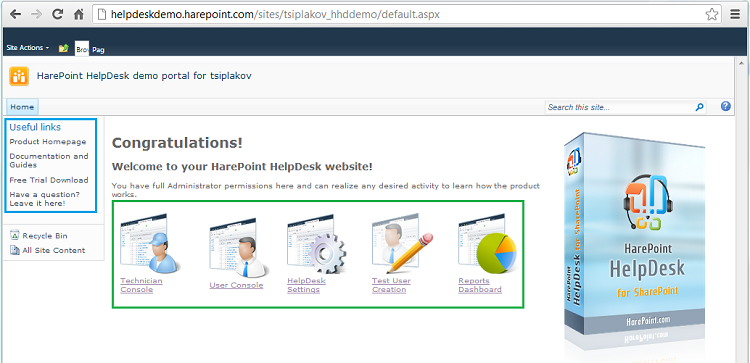
- After successful login you reach the welcome page of your HarePoint HelpDesk demo site. There are two important areas: links to the key pages of the site (marked green) and links to the product information (marked blue). We created these areas for you to simplify of finding and accessing required pages.
Test the product features as HelpDesk Technician
We would like to provide you the basic scenario of demo portal usage: creation requests as a helpdesk user and processing them as a helpdesk technician/operator.
First of all, visit User Console page:
![]()
You will see the web-part page where HelpDesk web-part is added. This web-part can be added to any page of your web-site to allow users to create new requests or see the existing requests. Links in the left pane are not the part of web-part; we added these links to simplify navigation to the pages with additional useful info. To create a new request click the corresponding button:
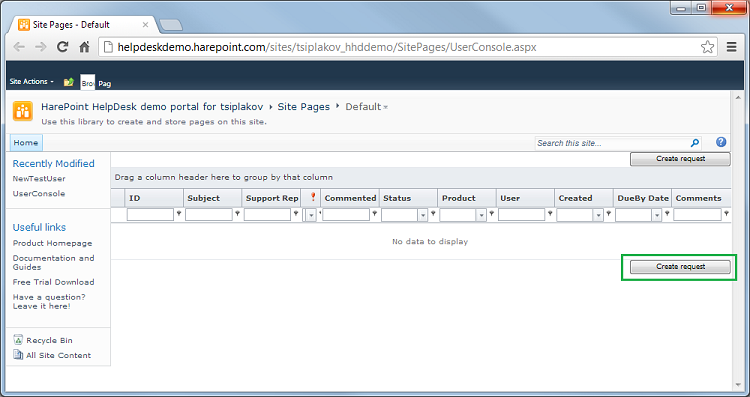
By default, two such buttons are displayed: the first one is displayed at the beginning of the list with requests and the second one is displayed under the list with requests. You can adjust it in the web-part settings.
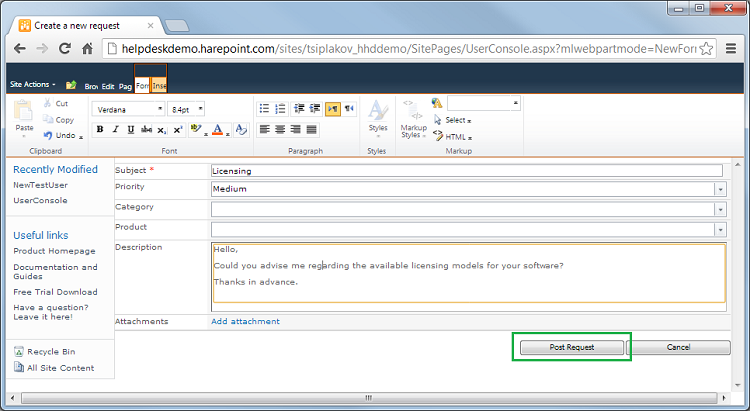
Next, fill in the form and submit a request:
Create several requests. After request creation, go back to the main page and use the Technician Console link:
![]()
To see a list of created requests and process them as a helpdesk technician:

The lists and order of columns displayed can be adjusted by changing the corresponding View for the List named “Requests”. You can also group requests by the necessary field using drag-n-drop grouping features:


To see the request, you can expand it right here in the lists by clicking > symbol, or you can see full details about request and answer it in a separate form, just clicking its subject.
Reply to the request:

If you marked your reply as “Resolution” it will look like the following:

You can thereby create any required number of different requests, answer these requests, receive email notifications, and so on.
The technician console contains the left menu which allows you to filter the requests in different ways:

Testing the product features as a HelpDesk User
To see how the list of created requests looks from the user side, it is necessary to create an additional user and log in to the HelpDesk using this account. In the scenario described, we used the HarePoint.com site visitor credentials for test site creation. With these credentials, we work as a helpdesk user and helpdesk technician:

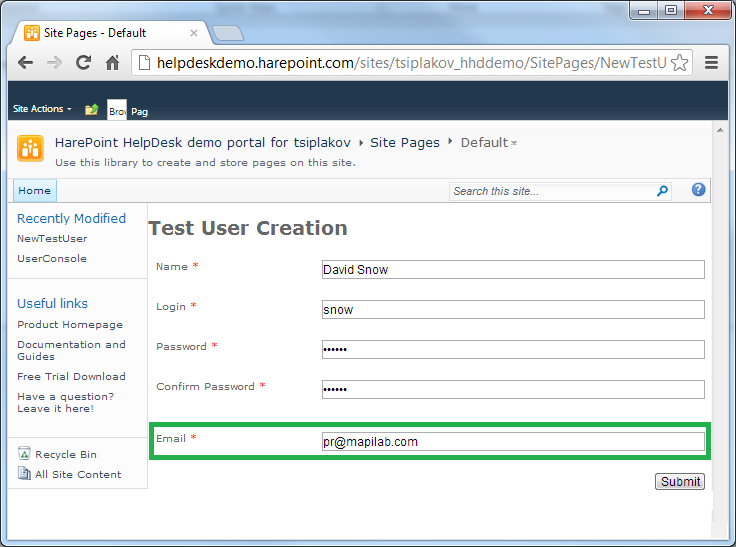
We provide the possibility to create other helpdesk users for testing purposes. To create a new user, follow this correspondent link from Welcome page:
![]()
Fill in the form on the next page. All data for the test user can be fictional, except for an email address. We recommend using any real email address to receive user`s notification messages about request status changes.
You can log off from your test site admin account (HarePoint.com account), then log in as a test user and create some requests. Another method is to log in as test user in a new window of another browser. You can use the User Console link from site`s welcome page in both cases.
Pay attention that when you log in as a test user the authorization window looks like the following:
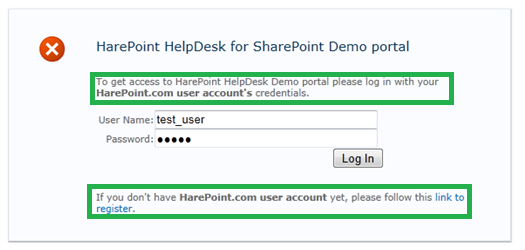
The explanations marked in green should be ignored and you should use the name and ID which you used to create a test user.
Learn more about HarePoint HelpDesk for SharePoint – a ready-made customer support system for internet and intranet sites based on the SharePoint platform.